DigitalOcean
Deploy Dalmatian on a DigitalOcean droplet.
Before you start
- A DigitalOcean account. Sign up at digitalocean.com if you don't have one. A card on file is required.
- A 2 vCPU / 4 GB droplet. You can resize later.
- An LLM credential. A ChatGPT Plus or Pro subscription, or an API key from OpenAI, Anthropic, or Google. You'll add this after the droplet is up.
Create your droplet
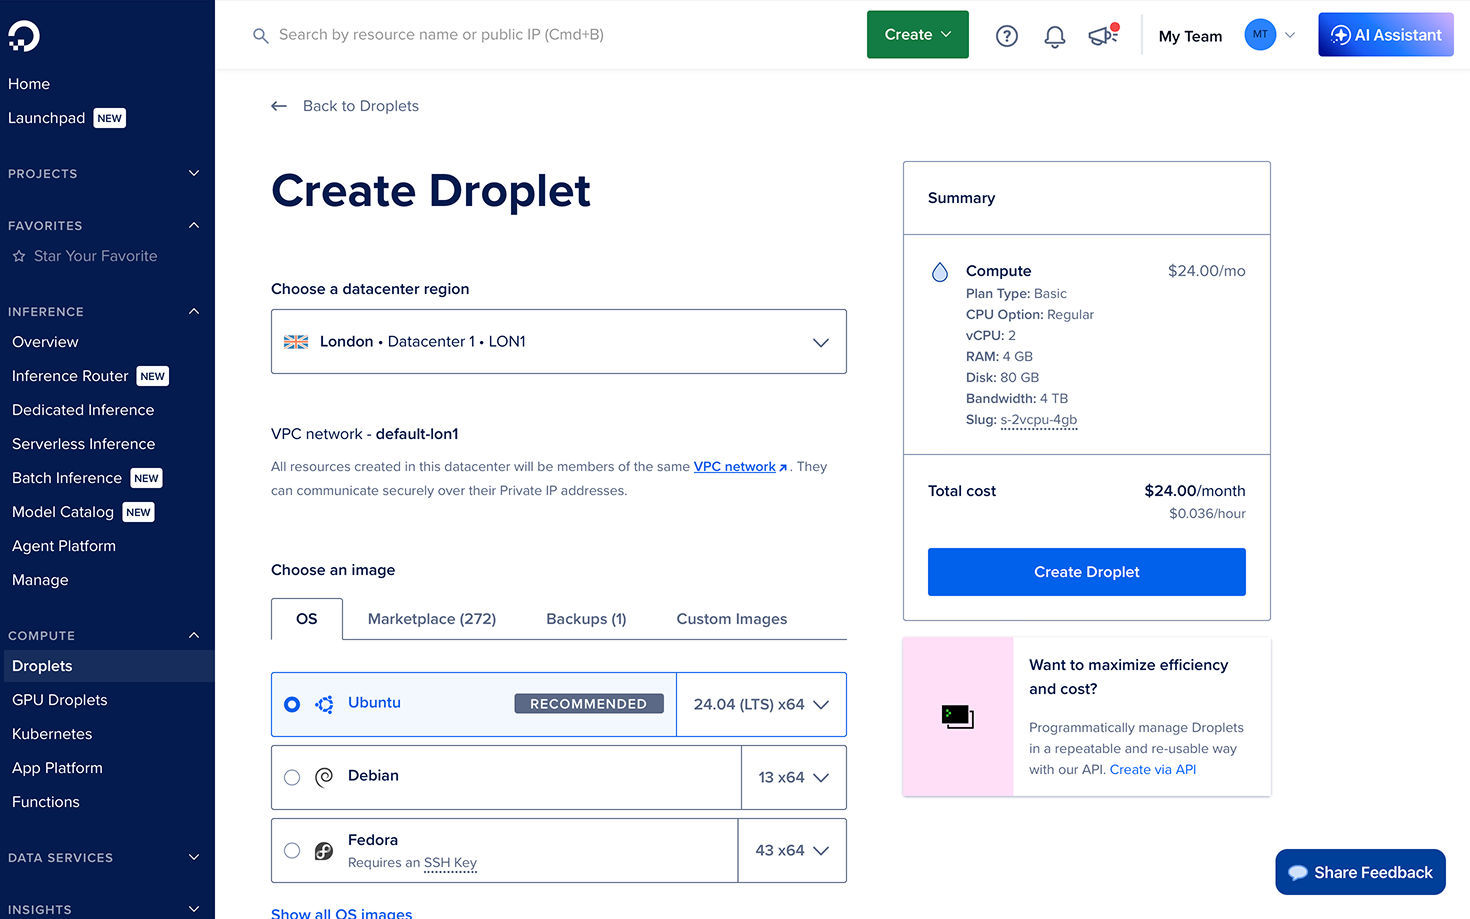
From the DigitalOcean dashboard, click Create → Droplets.
Pick a region and OS image
Choose a region close to where you'll use the dashboard. Under Choose an image, select Ubuntu 24.04 (LTS); Dalmatian requires this version.
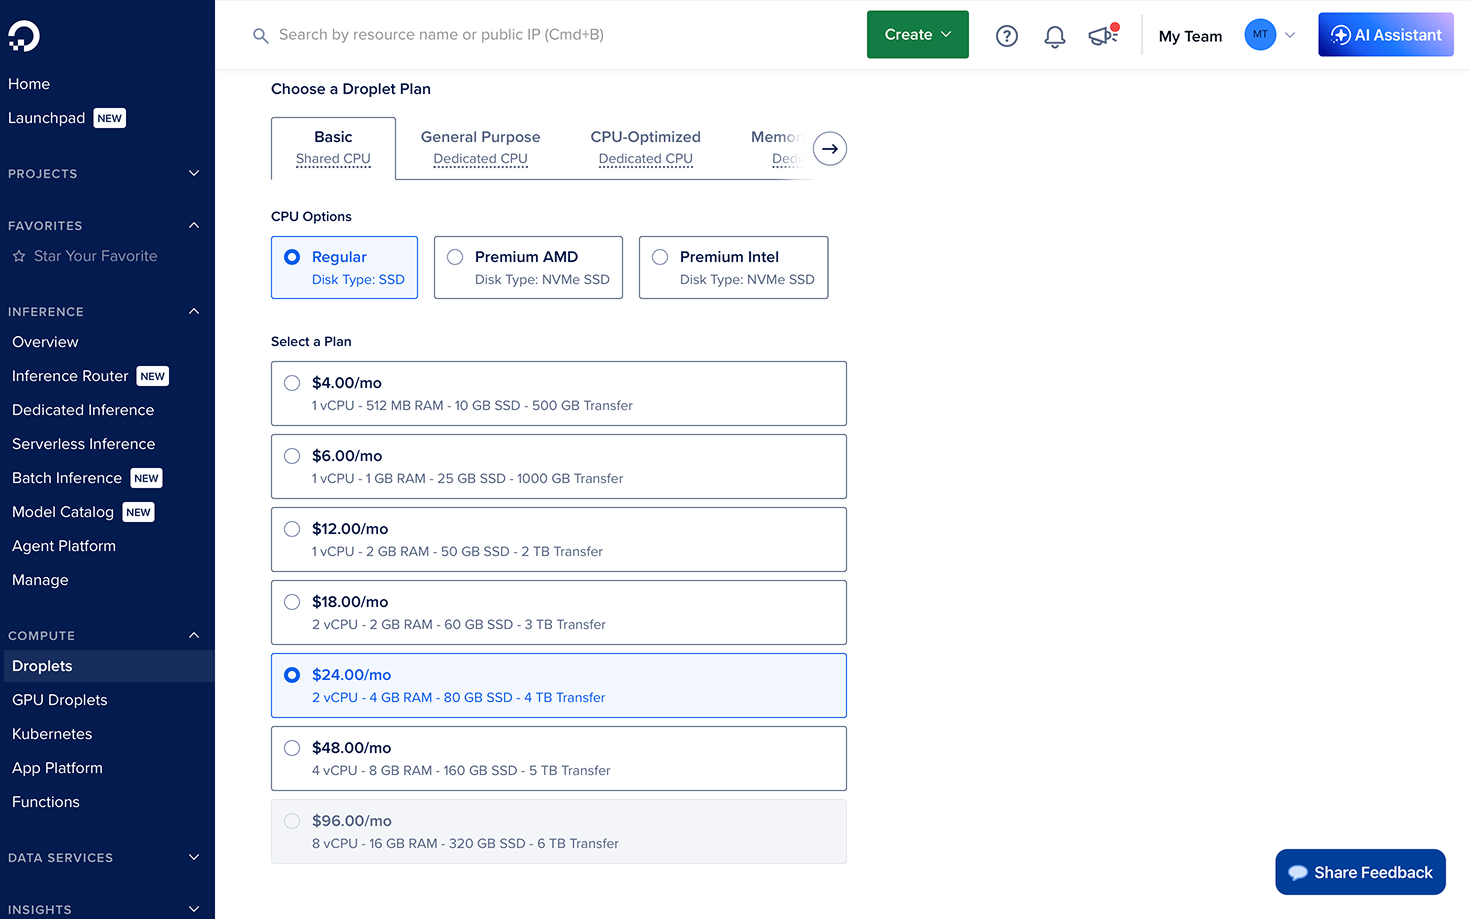
Pick the Basic plan
Under Choose a Droplet Plan, select Basic → Regular and the 2 vCPU / 4 GB / 80 GB SSD tier. You can resize later.
Paste the install script
Have your invite code ready (from your invite email or message). You'll drop it into the command below in place of YOUR_INVITE_CODE.
Scroll to Additional Options, tick Startup scripts (Free), and paste this snippet into the script field. DigitalOcean runs it once when the droplet first boots. It installs Dalmatian, sets up HTTPS, and starts the dashboard.
#!/bin/bash
curl -fsSL https://get.dalmatian.dev/alpha?token=YOUR_INVITE_CODE | bash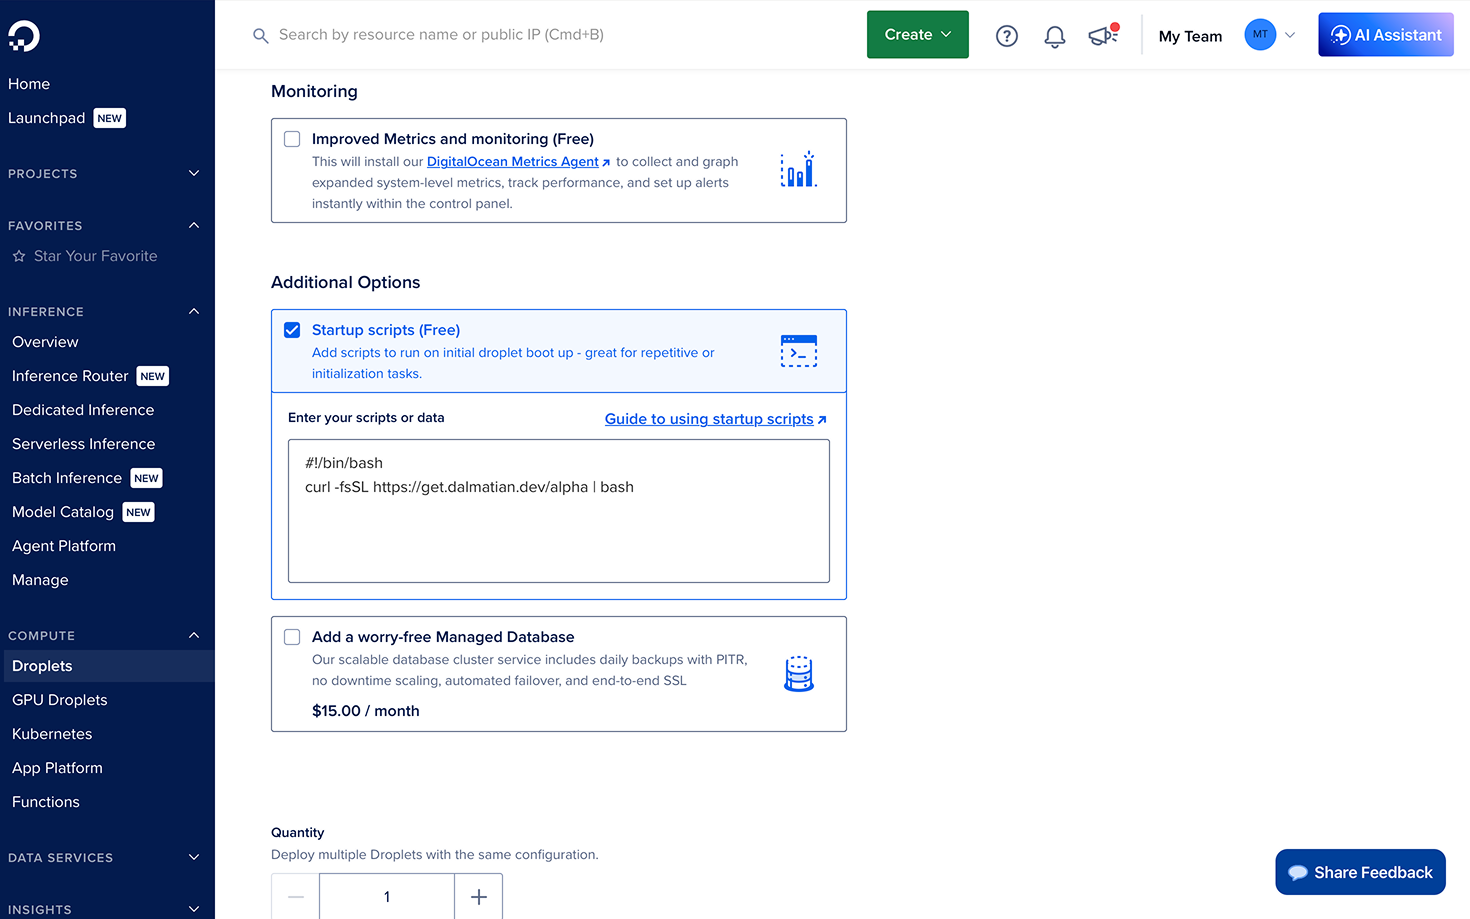
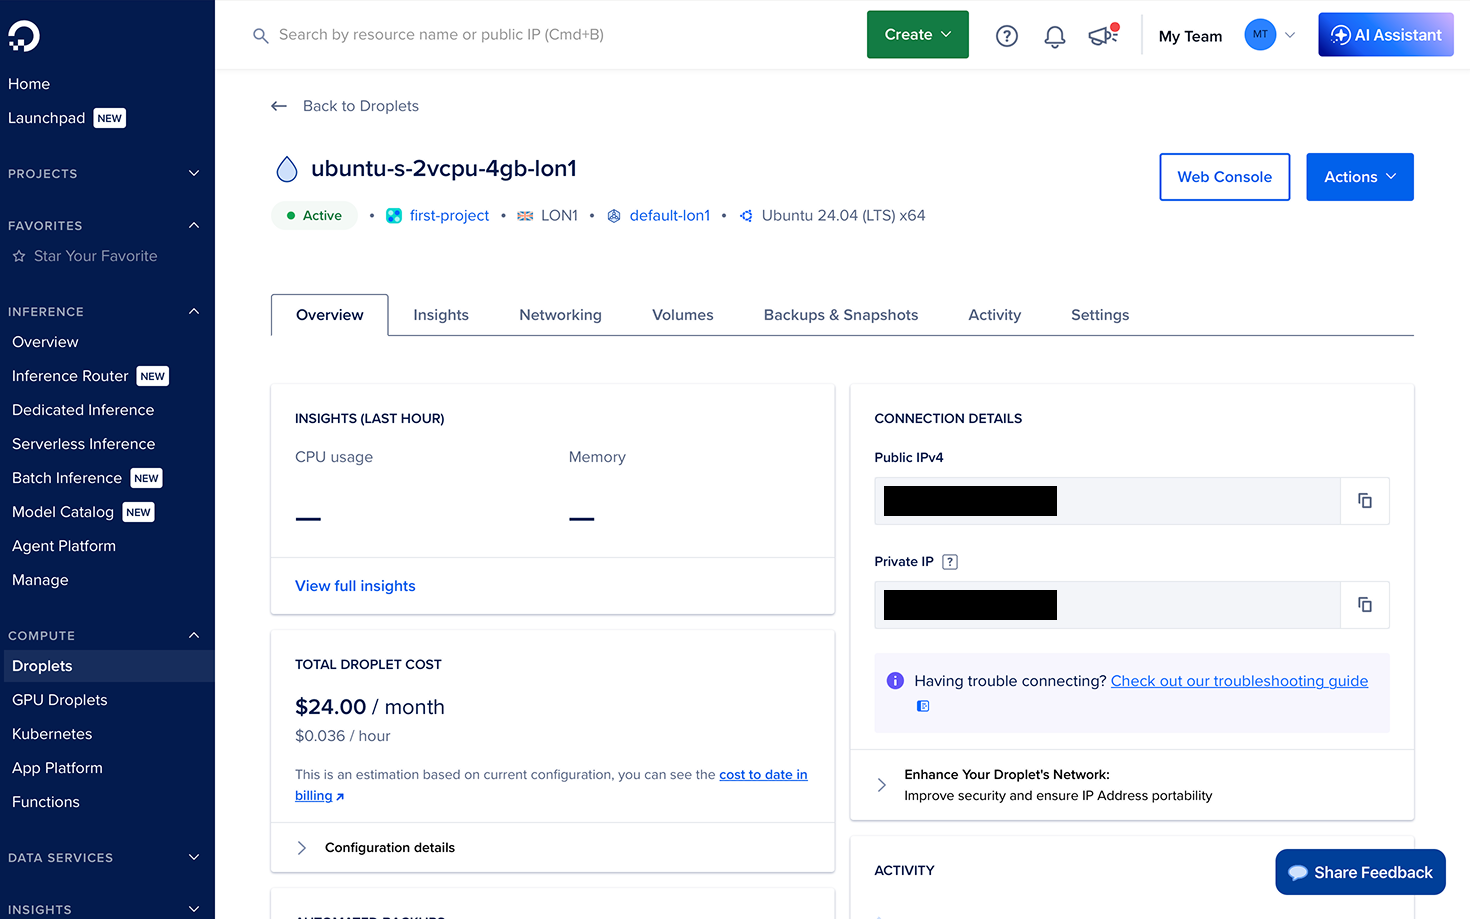
Create the droplet and note its IPv4
Click Create Droplet at the bottom of the form and wait about 60 seconds for provisioning. Once the droplet is active, its Public IPv4 is shown in the Connection Details panel. Copy it; you'll need it to open the dashboard.
1.2.3.4 as a stand-in for your droplet's IP.Next: open the dashboard
The droplet is provisioned, but the install script needs up to ten minutes to finish setting up Dalmatian and HTTPS. After that the dashboard is reachable in your browser. Continue in the Dashboard guide.